I decided today to take a break from vegetarian dishes and make something
different.
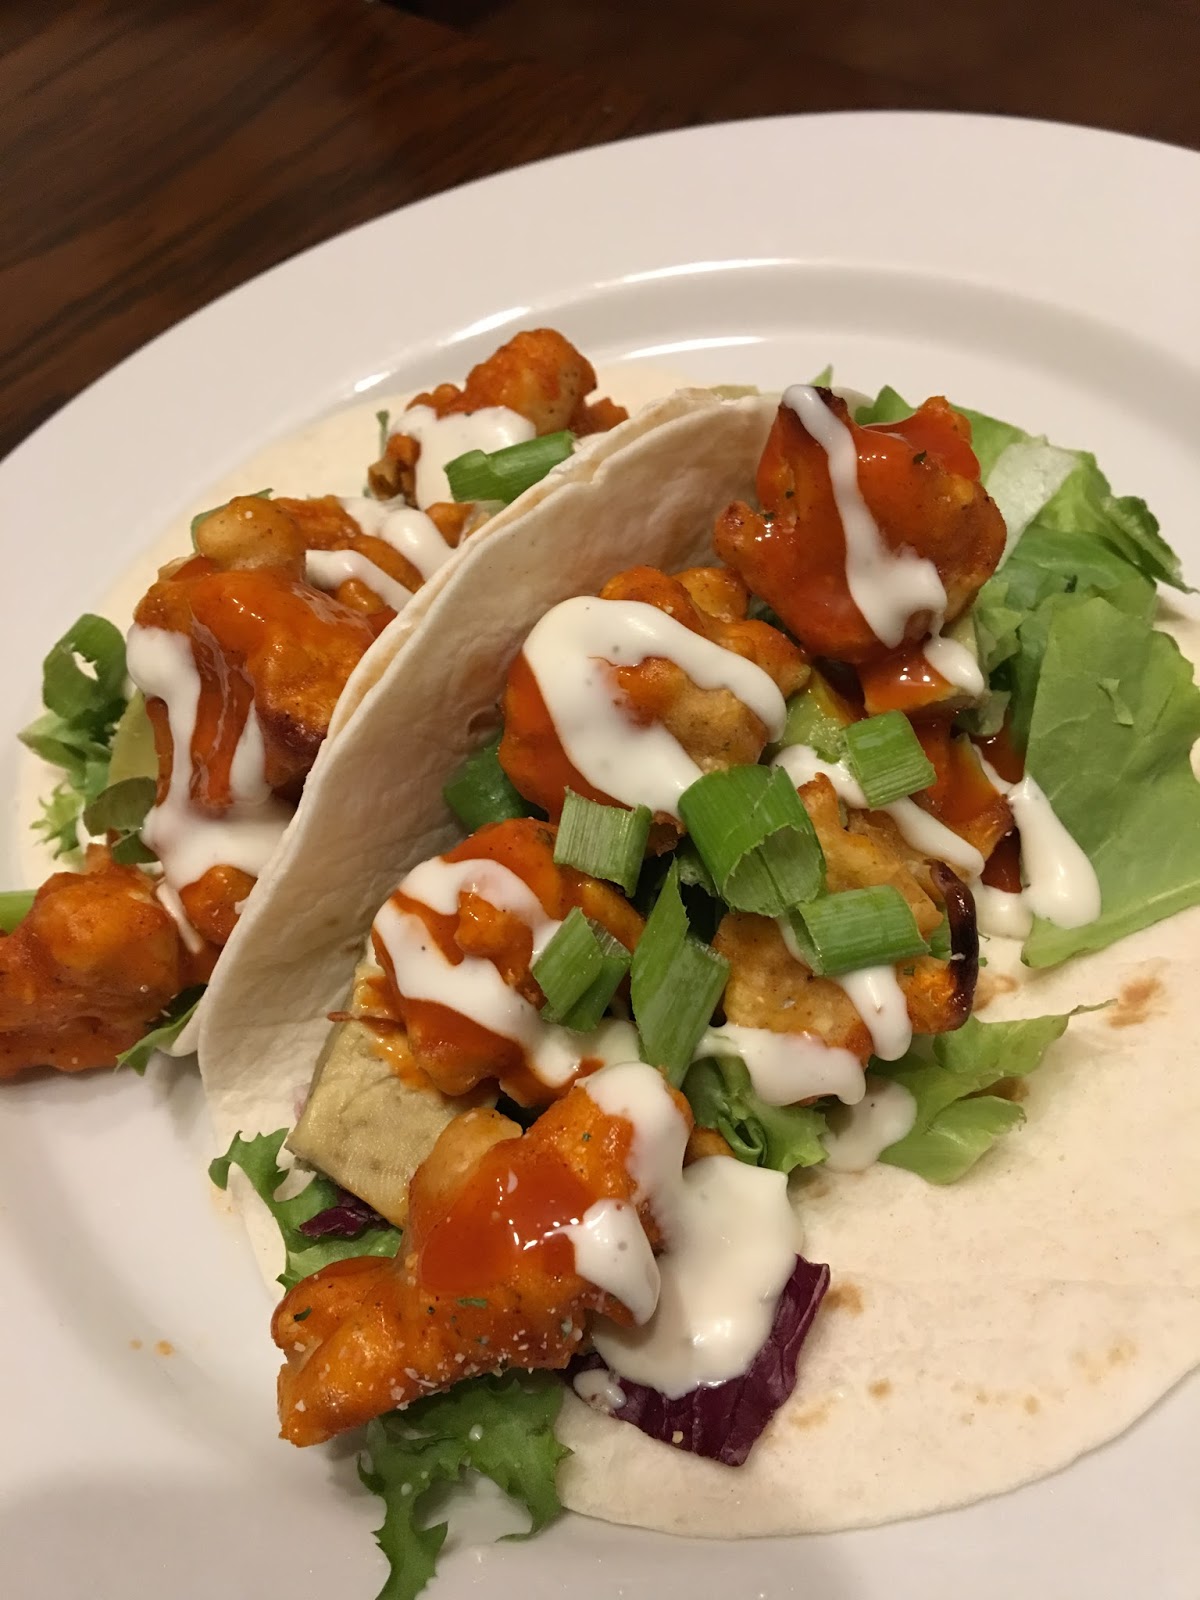
Seafood it is!
I'm so glad I found this recipe.
I had to make sure that its still packed with protein and still has a lot of veggies to it.
I highly recommend this recipe.
Let me know what you guys think.

SHRIMP ENCHILADAS
Homemade CREAMY POBLANO SAUCE:
- 2 tablespoons butter
- 2 tablespoons all purpose flour
- 1 ½ cups low sodium chicken broth
- 1 large poblano, minced (reserve 2 tablespoons)
- ¾ cup sour cream
- ½ teaspoon garlic powder
- salt and pepper
- 2 cups monterey or pepper jack cheese (divided)*
- 3 tablespoons cilantro, chopped
ENCHILADA STUFFING:
- 1 lb. shrimp, peeled and deveined
- 2 tablespoons oil
- ½ cup white onions, diced
- 4 teaspoons minced garlic
- 1 ½ cups shredded (matchstick) carrots
- 3 cups packed fresh baby spinach
- a couple dashes of hot sauce*
- 12 flour or whole wheat tortillas


DIRECTIONS:
- CREAMY POBLANO SAUCE: Melt the butter in a large saucepan over medium heat. Whisk in the flour and allow it to cook for 1-2 minutes or until it just begins to brown. Gradually whisk in the chicken broth and cook. You want to whisk continuously so you don’t have any lumps, about 2-3 minutes. When the sauce begins to thicken just a bit, add in the sour cream, whisking if necessary. Next, add garlic powder and the poblano (except the reserved 2 tablespoons). Simmer and allow the sauce to thicken for another 2-3 minutes. Adjust seasonings to taste and stir in 1 cup of cheese, When the cheese melts, remove from stove and stir in 2 tablespoons of cilantro. Set aside.
- ENCHILADA STUFFING: Position a rack in the center of the oven and preheat the oven to 375ºF. In a large sauce pan, heat 1 tablespoons of oil over medium high heat. Add the shrimp and allow them to cook about 1 minutes per side. Season with salt and pepper. Remove the shrimp to a plate using a slotted spoon. Discard any moisture from the pan and wipe clean. Add the remaining 1 tablespoon of oil to the pan and cook the onions for 1-2 minutes or until they just being to turn translucent. Add the garlic along with the 2 tablespoons of reserved poblano and sauté for 30 seconds. Add the matchstick carrots and baby spinach along with a couple dashes of hot sauce.Allow the spinach to just barely begin to wilt and remove from stove. Chop the shrimp and add them to the spinach mixture, stir to combine.
- ASSEMBLY: Spray a 9×13 baking dish with non-stick cooking spray. Lay the tortillas on a flat surface such as a cutting board and spoon the shrimp and spinach mixture in the center, about ⅓ cup. Sprinkle some of the remaining cheese and roll the tortilla and place it seam side down on the prepared baking dish. Repeat with remaining tortillas. Drizzle the tops of the tortillas with ½ of the creamy poblano sauce, cover the casserole dish with foil and allow to bake for 15-20 minutes or until the tortillas heat all the way through. Drizzle the remaining sauce on the enchiladas and top with the remaining 1 tablespoon of cilantro.

Enjoy!
I hope you are having a good week.
Ciao!